
Upgrading Your Home’s Lighting: The Complete Guide
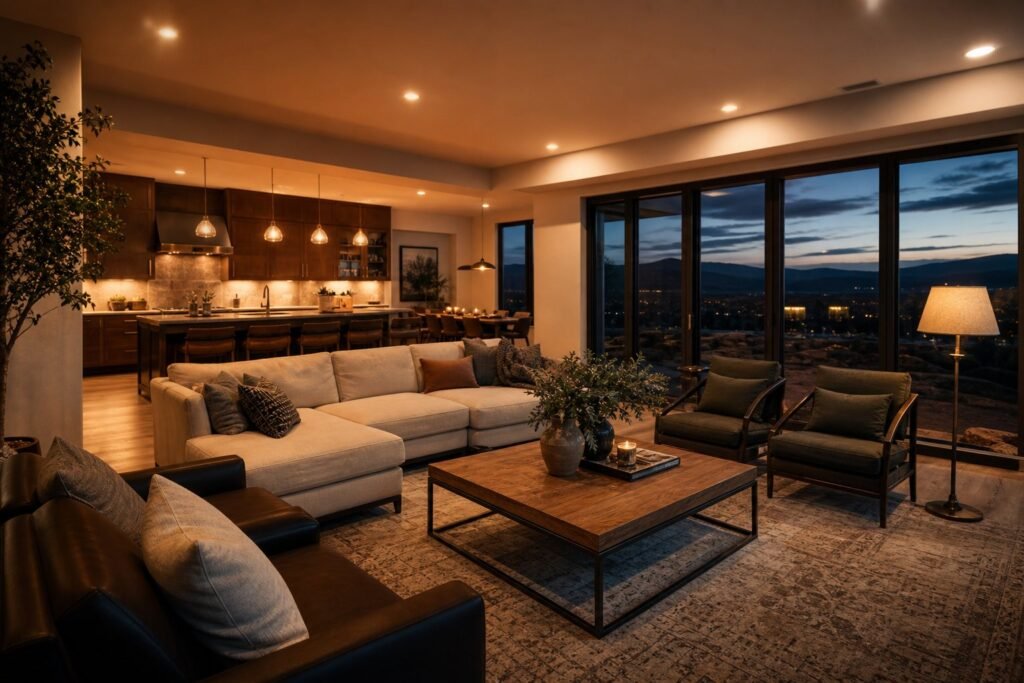
A real lighting upgrade is bigger than new bulbs. It means matching each room to the three layers of light it needs, converting older fixtures and boxes so they can carry LED technology safely, swapping legacy dimmers for LED-compatible controls, and adding recessed lights, under-cabinet runs, ceiling fans, or outdoor fixtures where the design calls for them. Some of that is a comfortable weekend project. Some of it is wiring work that belongs to a licensed electrician, and this guide draws that line honestly, room by room.
In this guide
- What counts as a lighting upgrade?
- How do the three layers of light work?
- LED conversion in older Wasatch homes
- Recessed lighting: spacing and cost
- Is under-cabinet lighting worth it?
- Smart switches and LED-compatible dimmers
- Ceiling fans: boxes and placement
- Outdoor and security lighting
- When lighting work needs a permit
- What lighting upgrades cost
- When you should not spend the money
- Quick answers
What counts as a lighting upgrade, and what’s just a bulb swap?
The dividing line is the fixture. Anything you do downstream of the socket, screwing in a better bulb, choosing a warmer color temperature, adding a plug-in lamp, is maintenance you should absolutely do yourself. Anything upstream of the socket, replacing the fixture, changing the switch that controls it, adding a light where none exists, moving a box, running a new circuit, is electrical work, and it behaves like electrical work: it has code requirements, it can be done dangerously wrong in ways that stay invisible for years, and in some cases it requires a permit.
That distinction matters because lighting is where more homeowners touch their own wiring than anywhere else in the house. A fixture swap looks approachable, two wires and a ground, and often it is. The trouble starts when the ceiling box turns out to be a 1950s pancake box packed with brittle cloth-insulated conductors, or the “simple” dimmer swap meets a switch loop with no neutral, or the new fan is hanging from a box that was never rated to hold one. Knowing which situation you’re in before you open things up is most of what this guide is for.
When a project lands on the electrician side of the line, our lighting installation and upgrade service handles everything from a single fixture to a whole-home plan, and the sections below tell you what each piece genuinely involves.
How do the three layers of lighting actually work?
Good rooms are lit three ways at once, and most frustrating rooms are lit only one way. Designers call the layers ambient, task, and accent, and the names are less important than the jobs:
- Ambient is the general fill that lets you cross the room without thinking about it: ceiling fixtures, recessed cans, a fan light, big windows by day.
- Task is bright, focused light exactly where work happens: under-cabinet strips over a counter, a pendant over a desk, vanity bars at the bathroom mirror.
- Accent is the deliberate extra that gives a room depth: a picture light, toe-kick strips, a wash on a stone fireplace, path lights along a walk.
The classic Wasatch Front failure mode is a single ceiling fixture asked to do all three jobs. It floods the middle of the room, throws your own shadow onto every work surface, and makes evenings feel like an office. The fix is rarely a brighter bulb; it’s redistribution. A kitchen with modest ambient light, strong under-cabinet task light, and a dimmer to pull the whole thing down after dinner feels dramatically better than the same kitchen with double the lumens all coming from one point on the ceiling.
Layering is also the honest budget tool. Once you think in layers, you can stage a project: recessed ambient this year, under-cabinet task next spring, accents when the basement gets finished. Each stage works on its own, and nothing gets torn out later.
Rooms don’t need more light nearly as often as they need light in more places.
What does LED conversion involve in an older home?
In a newer house, LED conversion means buying bulbs. In much of Ogden’s housing stock, it means looking hard at what those bulbs screw into. The pre-war homes in the Avenues and the east bench’s mid-century ranches were wired for incandescent loads and, in the oldest cases, for fixtures that have been cooking their own supply wires for seventy years or more.
Three things deserve attention at the fixture and the box:
- Heat-damaged conductors. Decades under hot incandescent fixtures leave insulation brittle and crumbling right where the fixture connects. LEDs run cool, but the splice you disturb during the swap is the same old wire. If the insulation flakes when touched, that section needs to be addressed, not just re-taped.
- Undersized or unlisted boxes. Pancake boxes and old bracket mounts common in pre-war ceilings may not have the volume, support, or grounding a modern fixture expects. A surprising number of older fixtures are held up by hope and a plaster key.
- No ground at the box. Two-wire circuits from the knob-and-tube and early cable eras leave a modern metal fixture without an equipment ground. There are correct ways to handle that; ignoring it isn’t one of them.
None of this means an older home can’t go LED. It means the first few fixture swaps should double as an inspection, and if the boxes tell a bad story, the conversion becomes a small rewiring project instead of a decorating one. Our home wiring projects guide covers what that looks like when it grows beyond lighting.
Mid-century homes bring a different wrinkle: the 1960s and 70s bench neighborhoods often have original recessed fixtures or integrated valance lighting whose transformers and sockets predate anything LED-friendly. Retrofit kits exist for some; others are cleaner to replace outright with modern canless LEDs, which also solves the insulation-contact problem those old cans created in the attic.
What should you know about recessed lighting before committing?
Recessed lighting is the workhorse of modern ambient light, and the modern version is easier to retrofit than most homeowners expect. Today’s installs overwhelmingly use canless LED wafers: a thin light that clamps into a hole in the drywall with a small driver box tucked above it, no bulky housing required. In a single-story ceiling with attic access, an electrician can often place and wire a full room’s layout without opening the ceiling anywhere except the holes the lights themselves occupy.
Two rules of thumb carry most layout decisions. First, spacing: divide the ceiling height by two to get a reasonable distance between lights, so an 8-foot ceiling suggests roughly 4 feet apart for even general light. Second, walls: keep lights about half the spacing distance from the wall, closer if you want the wall itself washed with light. Kitchens and other work zones go tighter than the formula; bedrooms and hallways can go looser.
Cost scales per light. Along the Wasatch Front, retrofit canless installs commonly land in the $100–$300 per light range including wiring, with finished multi-story ceilings and new switching pushing higher . The full layout math, kitchen versus living room patterns, dimmer pairing, and what installation involves in finished ceilings live in our dedicated post on recessed lighting installation.
Is under-cabinet lighting worth the wiring?
For kitchens, yes, almost without qualification. Counters are where the sharpest knife work in the house happens, and they sit in the shadow of the cabinets and of you. Under-cabinet light removes that shadow at exactly counter height, and it doubles as the best low-level evening lighting in the house, a soft glow that makes the kitchen usable at night without lighting up the ceiling.
The decision that matters is plug-in versus hardwired. Plug-in LED strips are a legitimate budget answer: no electrician, no drywall, done in an afternoon. Their costs are visible cords, occupied outlets, and switching that lives on the strip itself or a smart plug. Hardwired runs disappear the cords, switch from the wall like real lighting, and dim properly, but they need a supply brought to the cabinets, which usually means fishing cable from an existing circuit and cutting small access openings that get patched afterward.
A typical hardwired kitchen run installed by an electrician falls somewhere in the $300–$800 range depending on length, switching, and how cooperative the walls are . If the kitchen is being remodeled anyway, the math changes completely: wiring under-cabinet light into open walls costs a fraction of retrofitting it, which is why it belongs on every remodel checklist and in the planning conversation on our lighting upgrades page.
What do smart switches and dimmers change?
The switch is quietly the highest-leverage upgrade in this whole guide. A dimmer converts a room’s single mood into a range of them; a smart switch adds scheduling, remote control, and scenes without touching a single fixture. Because the intelligence lives in the wall, every dumb bulb and fixture downstream inherits the capability, which is why upgrading switches usually beats buying smart bulbs for anything hardwired.
Two compatibility questions decide whether this is a simple swap:
- Is the dimmer LED-compatible? Legacy dimmers were built to choke incandescent filaments, and LED drivers respond to that chopped waveform with flicker, hum, ghost-glow, or early death. Modern LED-rated dimmers (look for CL or ELV ratings matched to your loads) regulate cleanly, and most list a minimum load worth checking against a small LED circuit.
- Does the switch box have a neutral? Most smart switches need a neutral conductor to power their own electronics. Newer homes have one in nearly every box; older Ogden homes wired with switch loops often don’t. No-neutral smart switches exist, and an electrician can pull a neutral where the design demands one, but this is the question that turns a ten-minute swap into a small project.
If your LEDs already flicker on an existing dimmer, that mismatch is the most common cause, and our short answer post on why LED lights flicker walks through the triage before you spend anything.
Good to know: One dimmer can only control loads it can see, so mixing bulb brands and generations on a single dimmed circuit is a classic source of shimmer. When a circuit misbehaves, standardize the bulbs first and blame the dimmer second.
What do ceiling fans demand that lights don’t?
Weight and motion. A ceiling fan is a spinning machine that can pass 35 pounds with its light kit, and code requires it to hang from a box listed for fan support, a rating ordinary light boxes don’t carry. Hanging a fan from a plain light box is the single most common ceiling fan mistake we find, and it works right up until it doesn’t. Retrofit fan braces solve this from below in most ceilings without opening drywall.
Placement has its own rules of thumb: blades at least 7 feet above the floor, blade tips 18 inches or more from walls and sloped-ceiling surfaces, and a downrod sized so the fan sits in the room’s air rather than pinned against a vaulted ceiling. Rooms along the benches with two-story great rooms often need 3-to-6-foot downrods and a serious ladder plan, which is a real part of the quote.
Switching decides how the fan lives day to day: a single switch forces fan and light to share, a second switch leg separates them, and remote or wall-control kits can add independent control without new wiring. The full breakdown, braces, switch legs, high ceilings, and wobble, is in our post on what ceiling fan installation takes, and the hands-on service side lives at ceiling fan installation and repair.
What makes outdoor and security lighting different?
Everything outside the envelope has to survive weather, and along the Wasatch Front that means canyon wind events, blown dust, freeze-thaw cycles, and summer sun that bleaches cheap fixtures in two seasons. Outdoor work uses weather-rated fixtures, in-use covers on receptacles, gasketed boxes, and GFCI protection on the circuits; underground runs to a detached garage or a landscape zone need proper burial depth and conduit or direct-burial cable rated for it.
Security lighting works best when it’s boring: consistent, glare-free coverage of doors, the driveway, and the dark side yard beats one blinding floodlight that creates shadows deeper than the ones it removed. Motion-activated fixtures at approach points, dusk-to-dawn photocells on the fixtures you want on all night, and warm-enough color temperatures that the house doesn’t look like a car lot cover most homes. Smart outdoor switches fold it all into schedules with the rest of the house.
Two honest cautions. First, solar path lights are fine for decoration but disappointing as actual lighting north-facing under Utah’s winter sun angle; wired low-voltage landscape lighting is the durable version of that idea. Second, wiring anything new outdoors, a new circuit, a receptacle for holiday lighting, power to a shed, is squarely permit-and-inspection territory, which is the next section.
When does lighting work need a permit?
The rule most Utah cities apply is simpler than people fear: like-for-like replacement of a fixture or a switch on an existing circuit is generally maintenance, while new circuits, new wiring runs, and service changes are permitted work with an inspection . Adding a run of recessed lights fed from an existing switch sits in the middle and is treated differently by different jurisdictions, which is a genuine reason to have the installer confirm with the city rather than guess.
Permits are cheap insurance in both directions. The inspection catches the wiring errors that hide above drywall, and the paper trail protects you at sale time, when buyers’ inspectors have become noticeably more curious about unpermitted electrical work. A licensed electrician pulls the permit as part of the job; if a bid for new-circuit work is silent on permitting, that silence is information.
Flickering, warm switch plates, or breakers that trip when the lights come on are a different category entirely: those are symptoms, not projects, and they get triaged in our home electrical problems guide.
How much do lighting upgrades cost?
Lighting pricing is mostly labor, so it scales with access and quantity more than with the hardware. Typical market ranges for the projects in this guide:
| Project | Typical installed range | What moves the number |
|---|---|---|
| Fixture swap (existing box) | $100–$250 per fixture | Ceiling height, fixture weight, box condition |
| Recessed lighting (canless retrofit) | $100–$300 per light | Attic access, switching, finished floors above |
| Hardwired under-cabinet run | $300–$800 per kitchen | Run length, wall fishing, dimming |
| LED-rated dimmer or smart switch | $100–$250 per switch | Neutral availability, multi-way circuits |
| Ceiling fan (existing fan-rated box) | $150–$350 | Ceiling height, assembly, downrod |
| Ceiling fan with brace retrofit or new switch leg | $300–$600+ | Box replacement, wall fishing for the new switch |
| Outdoor security fixture on new wiring | $250–$600 per fixture | Exterior wall type, GFCI, trenching if any |
Two framing notes make quotes easier to compare. First, mobilization is real: the service call and setup cost the same whether one light goes in or eight, so batching work into a single visit lowers the per-item price meaningfully. Second, Utah electricians commonly bill $85–$150 per hour with service calls around $75–$150 , so a quote that looks high per fixture may simply be honest about access problems a low quote is ignoring. A scoped visit through our lighting installation service prices the whole list at once.

When is a lighting upgrade not worth the money?
Several situations genuinely don’t justify an electrician, and pretending otherwise would cost us your trust:
- If the room’s only problem is harsh or dim light, try bulbs first: modern high-CRI LEDs at 2700K–3000K fix more “this room feels bad” complaints than any wiring project, for a tenth of one fixture’s labor.
- If you rent, or plan to remodel within a couple of years, plug-in solutions win: lamps, plug-in sconces, and stick-on under-cabinet strips deliver most of the layered effect with zero sunk wiring that a remodel will tear out.
- If the house has aluminum branch wiring or a panel already flagged for replacement, fix the foundation first: adding load and splices to compromised wiring is decorating a problem.
- If a smart-home vision is driving the project, start with three switches, not thirty: most households discover they automate a handful of locations and happily flip the rest by hand.
The steps below are the version of this project that doesn’t waste money, whichever side of the DIY line each piece falls on:
- Walk the house at night and list what each room fails at: shadows on counters, glare at the TV, dark entries. Problems first, fixtures second.
- Sort the list into layers (ambient, task, accent) and mark which items are bulb-and-lamp fixes you’ll do yourself.
- For the wired remainder, get one scoped visit covering everything: fixture swaps, recessed layout, switching, and any box or wiring surprises in one quote.
- Stage the work by impact: task lighting where you work daily usually beats accent lighting anywhere.
- Finish each stage with dimmers matched to the actual bulbs installed, so the layers can be tuned instead of just switched.
Quick answers
Do I need an electrician to change a light fixture?
Not always. Swapping a like-for-like fixture on a healthy modern box, with the breaker off and a voltage tester confirming dead, is a reasonable homeowner job. Call a pro when the box wobbles, the wire insulation crumbles, there’s no ground, the fixture is heavy, or you’re on a two-story ceiling. Those are the versions that end badly.
Are LED lights actually cheaper to run?
Yes, by a wide margin. An LED delivering the light of an old 60-watt bulb draws roughly 8–10 watts, so a whole-house conversion typically cuts lighting energy use by 80 percent or more . On Rocky Mountain Power residential rates the payback on quality bulbs is usually measured in months, and modern LEDs also spare you ladder trips for a decade.
Why do my LED bulbs flicker on the dimmer?
Almost always because the dimmer predates LEDs. Legacy incandescent dimmers chop power in a way LED drivers can’t smooth out, producing flicker, shimmer, or glow at “off.” An LED-rated dimmer matched to the bulbs fixes most cases. Persistent flicker with the right dimmer, or flicker with no dimmer at all, deserves diagnosis; start with our LED flicker post.
How many recessed lights do I need in a room?
Divide the ceiling height by two for spacing between lights and keep them about half that distance off the walls, then round to the room’s geometry. An 8-foot ceiling in a 12×16 living room usually lands at six lights on a dimmer. Work zones like kitchens go tighter. Our recessed lighting post walks the full layout math.
Can any ceiling box hold a ceiling fan?
No. Fans must hang from boxes listed for fan support; standard light boxes aren’t rated for the weight plus rotation. Retrofit fan braces install through the existing hole in most ceilings without new drywall work. The details are in our ceiling fan installation post.
Does adding recessed lighting require a permit in Utah?
It depends on the scope and the city. Like-for-like replacement is generally exempt as maintenance; new circuits and new wiring runs generally require a permit and inspection; extending an existing circuit sits in between and varies by jurisdiction . Whoever does the work should confirm with the city building department rather than assume.
What color temperature should I buy for my house?
For living spaces, 2700K reads as warm and relaxed and 3000K as neutral-warm; both are safe defaults. Save 3500K–4000K for garages, workrooms, and some kitchens, and be consistent within any room, because mixed temperatures on one ceiling read as a mistake. High CRI (90+) matters more than the marketing on the box.
Should I replace old fluorescent tube fixtures with LED?
Usually, yes. Basement and garage tube fixtures from the 80s and 90s hum, flicker in the cold, and depend on ballasts that are failing anyway. Swapping the whole fixture for an LED wraparound or strip is typically cleaner than retrofitting tubes into an aging ballast, starts instantly in a freezing Utah garage, and ends the ballast-replacement cycle for good.
Planning anything from one stubborn fixture to a whole-home lighting refresh? One visit scopes the entire list, with a straight quote and no pressure to do it all at once.
Copperview Electric is based in Ogden, and much of what’s above was learned in this city’s specific mix of pre-war, mid-century, and new-build housing. If that’s your stock too, our Ogden electrician page covers how we work here.