
Recessed Lighting: Layout, Spacing, and What Installation Involves
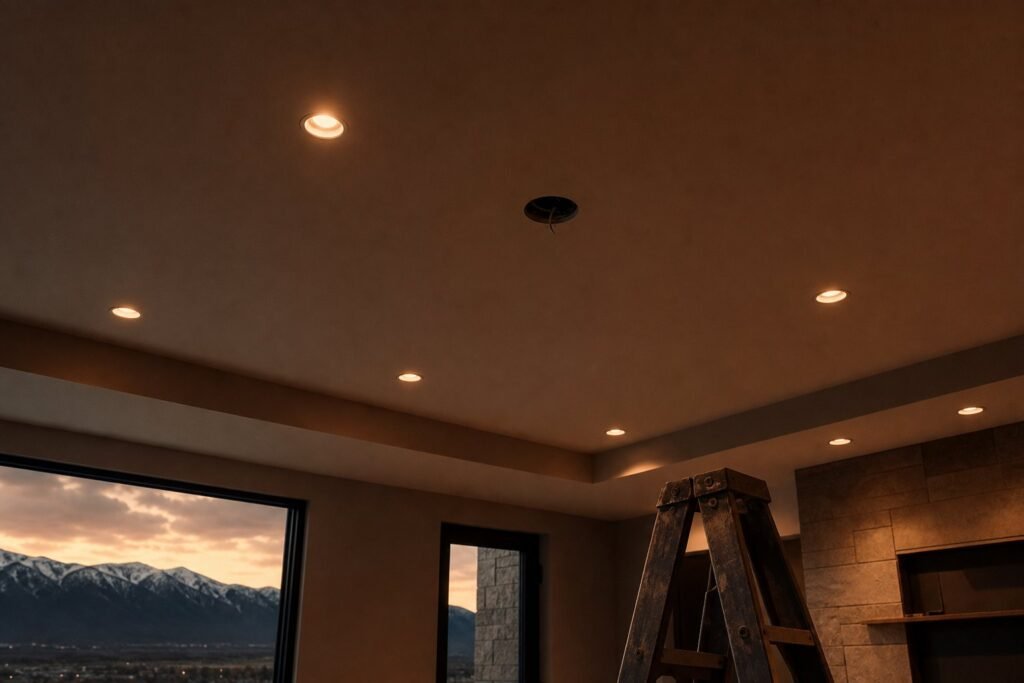
Modern recessed lighting almost always means canless LED wafers: slim fixtures that clamp into a drywall cutout with a compact driver above, no bulky housing needed. Layout follows a simple rule, ceiling height divided by two for spacing between lights, half that to the nearest wall, tightened up over kitchens and work zones. Installed cost typically runs $100–$300 per light depending on ceiling access, and pairing the circuit with an LED-rated dimmer is what makes the result feel designed rather than drilled.
In this guide
What’s the difference between canless LEDs and traditional cans?
A traditional recessed light is a metal housing, the “can,” mounted to framing, with a separate trim and bulb inside it. A canless LED integrates the light, trim, and heat management into one slim disc, usually under an inch deep, fed by a small junction-box driver that rests above the ceiling. Spring clips grab the drywall itself, so there’s no framing attachment at all.
For retrofit work, canless won. It needs only a hole saw cut and a cable, fits where joists, ducts, and vents would block a full housing, seals better against air leakage into the attic, and typically carries wet or damp ratings and selectable color temperature out of the box. Traditional housings still earn their place in new construction and in specialty situations, deep adjustable trims for art walls, certain sloped-ceiling fittings, but if you’re adding lights to an existing Utah ceiling in 2026, you’ll almost certainly be quoted canless, and you should want to be.
One honest trade-off: a canless fixture is a sealed unit, so when it eventually fails you replace the whole inexpensive disc rather than a bulb. Given rated lifespans in the tens of thousands of hours, that swap is a next-decade problem, but it’s worth knowing the maintenance model changed.
How far apart should recessed lights be?
Start with the ceiling: divide its height by two, and use the result as the spacing between lights for even ambient coverage. An 8-foot ceiling suggests about 4 feet between lights; a 10-foot ceiling stretches to 5. Then hold lights off the walls by roughly half the spacing figure, about 2 to 3 feet under an 8-foot ceiling, closer if you deliberately want the wall grazed with light for art or texture.
| Ceiling height | Spacing between lights | Distance from walls |
|---|---|---|
| 8 ft | 4 ft (3 ft over work areas) | 2–3 ft |
| 9 ft | 4.5 ft (3.5 ft over work areas) | 2–3 ft |
| 10 ft | 5 ft (4 ft over work areas) | 2.5–3.5 ft |
| 12 ft (vaulted) | 6 ft, or larger fixtures | 3–4 ft |
Treat the formula as a starting grid, not a law. Rooms are rectangles with furniture, so the real layout adjusts to what’s below: center lights over the seating zone rather than the room’s geometric center, keep cans out of the direct sightline above a wall-mounted TV, and let a required joist dodge of a few inches go, because nobody perceives a 4-inch offset from a formula, but everyone perceives a light shining into their eyes from the wrong spot.
The formula gets you a grid; the furniture tells you where the grid should bend.
How do kitchen and living room layouts differ?
Kitchens are task rooms, so the pattern follows the counters, not the room outline. Lights go 24 to 30 inches off the wall so the beam lands on the countertop in front of you instead of on your shoulders, spaced tighter than the formula, typically 3 to 4 feet, and the island gets its own centered row or pendants. A kitchen lit this way needs fewer total lumens than one lit on a naive center grid, because the light lands where the knives are.
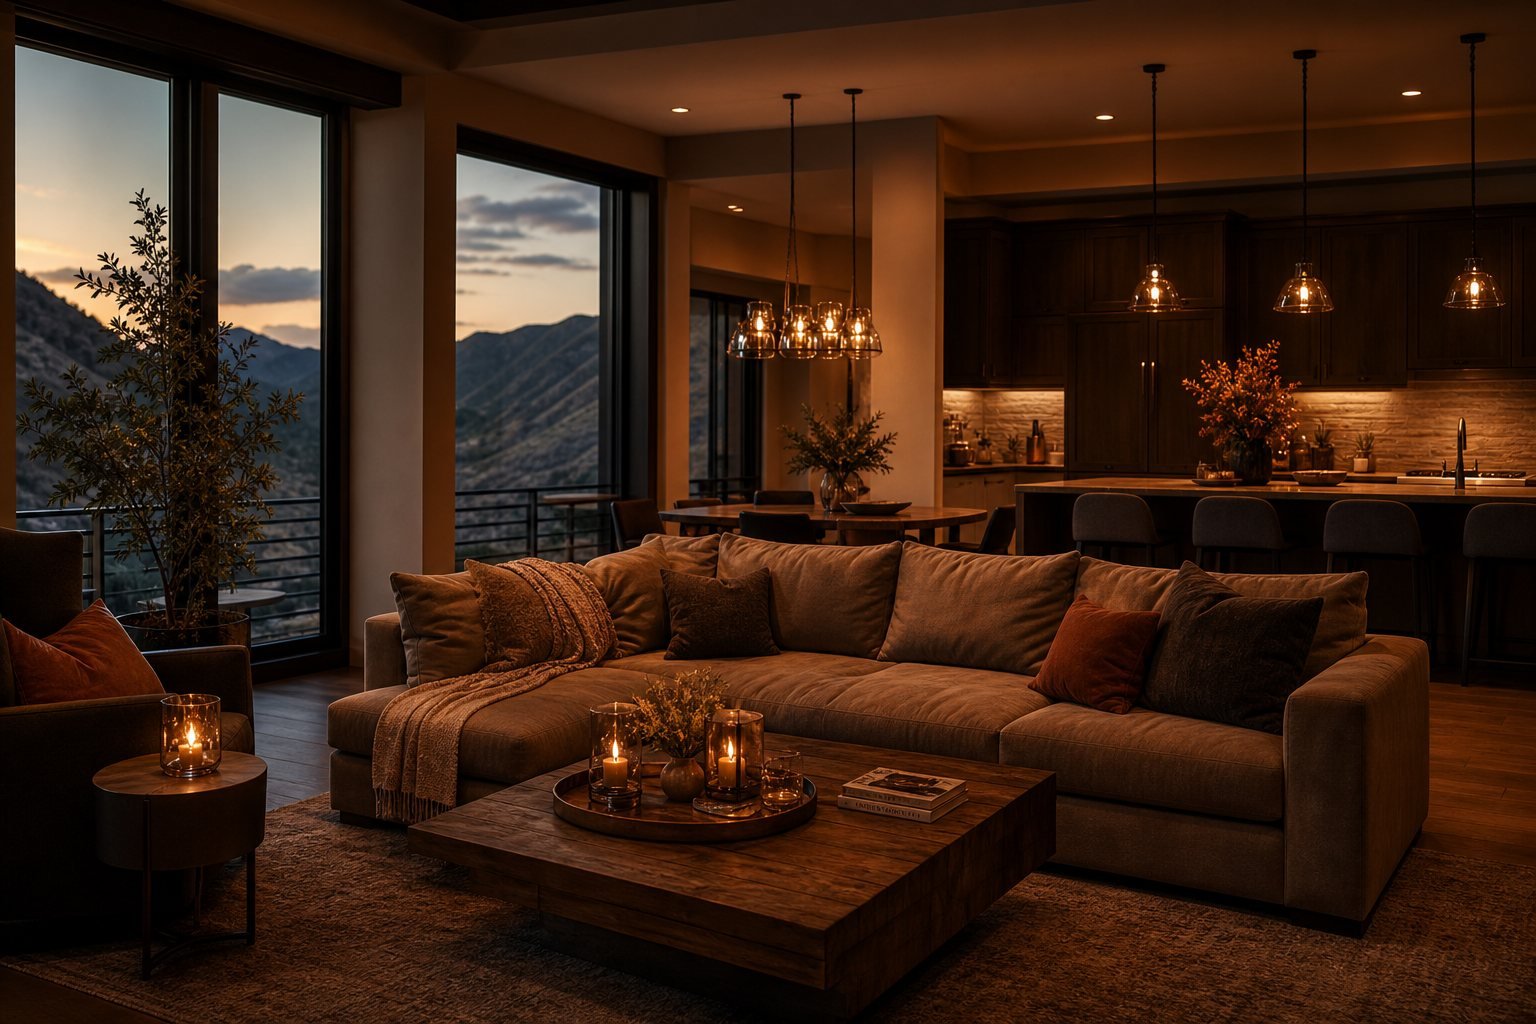
Living rooms invert the priorities: comfort over brightness. Wider spacing, warm color temperature, and everything on a dimmer, with recessed handling the ambient layer while lamps and accents do the character work. This is the layered thinking from our complete lighting upgrade guide, and recessed is deliberately just one layer of it. Bedrooms follow the living room logic; hallways just want one modest light every 6 to 8 feet.
Which dimmer should recessed LEDs pair with?
An LED-rated dimmer is not optional polish; it’s half the product. Wafer lights at full output are bright enough for cleaning day, and nobody wants cleaning-day light at dinner. Pair the circuit with a dimmer carrying a CL or LED listing, check the fixture maker’s compatibility sheet if the count is small (some dimmers list a minimum load a pair of efficient wafers won’t meet), and keep every fixture on the circuit the same model so they dim in unison.
Mismatched or legacy dimmers are the leading cause of the shimmer and strobing people blame on the lights themselves; our post on why LED lights flicker covers that triage. Many canless models also offer selectable color temperature at install time, and it’s worth setting deliberately: 2700K–3000K in living spaces, cooler only where work happens.
What do IC ratings mean under a Utah attic?
IC stands for insulation contact, and along the Wasatch Front it’s the rating that matters, because our attics are, or should be, deep in blown insulation against January. An IC-rated fixture can be buried directly in that insulation; a non-IC fixture requires clearance around it, which in practice means a hole in your thermal blanket radiating heat all winter, or an overheating hazard if someone rakes insulation back over it.
This is also where old-school cans quietly cost money: the classic leaky housings vent conditioned air into the attic year-round, and older non-IC cans in insulated Utah attics are a code-and-safety conversation, not just an efficiency one. Modern canless wafers are typically IC-rated and gasketed by default, which is one more reason retrofits standardized on them. If your ceiling already has 1980s or 90s cans, replacing their guts with sealed retrofit LED modules, or replacing them outright with wafers, upgrades safety, efficiency, and light quality in one pass.
Good to know: If you can see light from a recessed fixture when standing in the attic, the fixture is leaking air as well as light. Sealed IC-rated replacements close that gap, and along the bench in winter the difference is measurable comfort.
What does installation actually involve?
In a finished ceiling with attic or crawl access above, the sequence is tidy and usually a one-day visit for a room :
- Confirm the layout on the ceiling with the homeowner, marking each center and checking every mark against joists, ducts, and plumbing with a stud finder and small pilot holes.
- Cut the openings with a hole saw, one clean circle per light, no drywall demolition.
- Run cable from the switch location and between openings, fished through the joist bays or laid in from the attic.
- Make up the driver connections, clip each fixture into its opening, and set the color temperature.
- Install the LED-rated dimmer, restore power, and test the full circuit dimmed and at full output.
A finished ceiling with a lived-in floor above, no attic to work from, is honest fishing work: cable gets routed through joist bays from the fixture holes themselves, occasionally with a small access cut that gets patched. It’s slower, and quotes should say so plainly. Unfinished ceilings, an unfinished basement, a garage, mid-remodel rooms, are the easy case and the cheap moment to add lighting, a point our lighting guide makes about under-cabinet runs for the same reason. New switching or a new circuit brings permit-and-inspection territory with it .
What does recessed lighting cost per light?
Typical market pricing for canless retrofits runs $100–$300 per light installed , with the spread driven almost entirely by access: single-story ceilings under an open attic sit at the low end, while second-floor ceilings, tall vaults, and fished runs push toward the top and occasionally past it. New dimmers, multi-way switching, or a new circuit price separately. Because setup and mobilization are fixed, per-light cost drops meaningfully with quantity; six lights rarely cost six times one light. A scoped visit through our lighting installation and upgrades service prices the exact ceiling rather than the average one.
One budget honesty note: if the goal is simply a brighter room and the ceiling already has a center fixture, a high-output modern flush mount on the existing box costs a fraction of a six-can layout. Recessed earns its price through evenness and dimmable layers, not raw lumens, so buy it for that reason or not at all.
Quick answers
How many recessed lights do I need per room?
Run the spacing rule against the room’s dimensions: ceiling height divided by two between lights, half that to the walls, then round to the geometry. A 12×16 living room under 8-foot ceilings typically lands at six; a 10×10 bedroom at four. Kitchens go denser along the counters. When in doubt, err lower and dim less; overlit rooms are the more common regret.
Can recessed lights go in a ceiling with a room above?
Yes. With no attic access, cable is fished through the joist bays from the fixture openings themselves, sometimes with a small patched access cut. It takes longer and costs more per light than an attic-access install, but it’s routine work for an electrician, and canless fixtures make it far easier than housed cans ever were.
Do recessed lights need to be on a dimmer?
Not by code, but practically yes. A grid of wafers at fixed full brightness is the least flattering light a living space can have. An LED-rated dimmer matched to the fixtures turns the same hardware into morning light, dinner light, and movie light. It’s the cheapest component in the project and carries the most daily value.
Are canless LED lights safe covered in attic insulation?
Check the rating, but nearly all quality canless wafers are IC-rated, meaning insulation can bury them directly with no clearance. That matters in Utah attics, where deep blown insulation is doing real work all winter. The old rule about keeping insulation away applies to non-IC housings, which is exactly why those older cans are worth replacing.
Can a ceiling fan replace recessed lights in the same room?
They do different jobs and coexist well: the fan handles air movement and a bit of ambient light while recessed provides the even coverage a single fan light can’t. If you’re weighing both, the fan has its own structural requirements, covered in our post on what ceiling fan installation takes.
Thinking about a recessed layout for a kitchen, living room, or basement? We’ll mark the ceiling with you and quote the real access conditions, not a brochure average.
We install recessed lighting throughout Weber and Davis counties, including plenty of it in Kaysville’s 1990s-and-newer two-story stock, where fished second-floor ceilings are the usual puzzle. Details on how we work there are on our Kaysville electrician page.