
Home EV Charger Installation in Utah: The Complete Guide
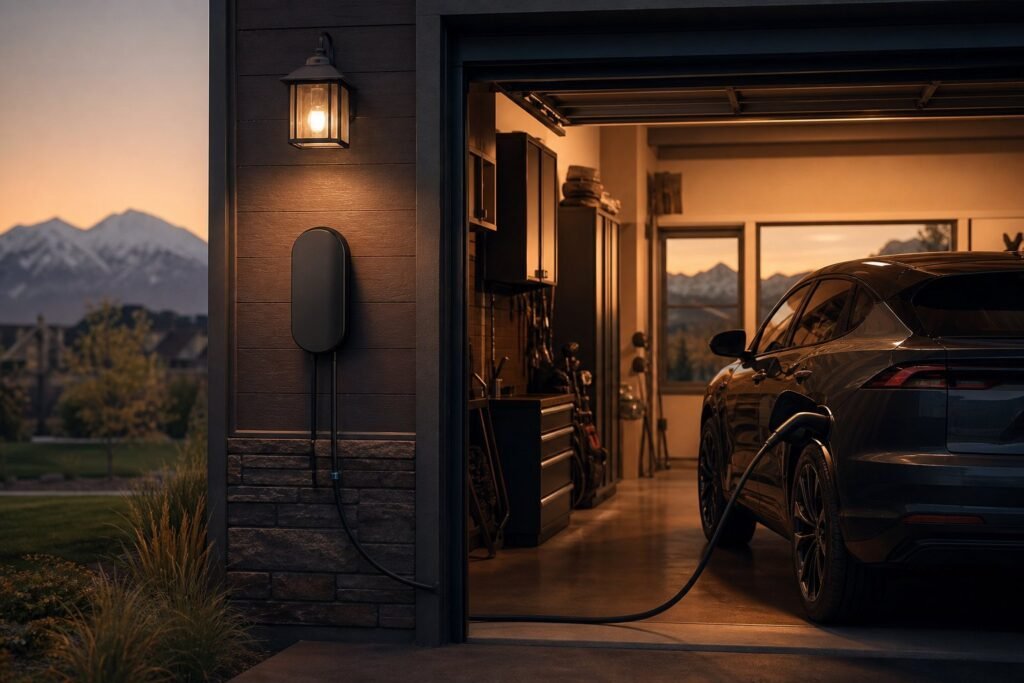
A home EV charger installation in Utah usually means a dedicated 240-volt Level 2 circuit, a wall unit matched to your panel’s spare capacity, a city permit, and an inspection to close it out. Typical installed cost along the Wasatch Front runs $1,200–$3,200. The choices that shape the project: hardwired or plug-in, which amperage, where the unit mounts, and whether your panel has genuine headroom. This guide walks through every one of them.
In this guide
- Level 1 or Level 2 at home
- Hardwired vs plug-in units
- Tesla, J1772, and NACS fit
- Can a regular outlet do the job?
- Does your panel have the headroom?
- How the breaker gets sized
- Where the charger should mount
- Winter charging in Utah
- What installation costs
- Permits, inspection, and timeline
- Rebates and incentives
- When to skip the install
- Quick answers
Should you charge at Level 1 or Level 2 at home?
Level 2 is the answer for most households that drive an EV daily, and Level 1 is the honest answer for a surprising number that don’t. Level 1 is the cordset that came with the car plugged into an ordinary 120-volt outlet: slow, free to start using, and adequate when your daily mileage is modest. Level 2 is a dedicated 240-volt circuit feeding a wall unit, and it charges several times faster.
The practical difference shows up overnight. A Level 1 cord typically restores a few miles of range for every hour plugged in, so a night in the garage covers a short commute and not much more. A Level 2 unit typically restores twenty miles or more per hour, which means the battery is effectively full every morning regardless of what yesterday looked like.
There’s also a resilience argument that the speed numbers hide. Level 2 rebuilds range fast enough to absorb surprises: the forgotten plug-in, the unplanned airport run, the week the in-laws borrow the car. Level 1 households live closer to the edge of their arithmetic, and that margin, more than raw speed, is what most upgraders say they were actually buying.
If you want the real arithmetic, our Level 1 vs Level 2 charge-time breakdown runs the miles-per-hour math by amperage tier and names the drivers who genuinely never need the upgrade.
Hardwired or plug-in: which style of charger is better?
Hardwired wins on capability and tidiness; plug-in wins on flexibility. A plug-in unit hangs on the wall and connects through a heavy 240-volt receptacle, usually a NEMA 14-50. If you move, the charger can move with you, and swapping a failed unit is a five-minute job. The trade-offs: plug-in installs top out around 40 amps of charging, and current code requires GFCI protection on that receptacle, which means a specialty breaker that adds real dollars to the quote.
A hardwired unit connects permanently to the circuit with no receptacle in between. That unlocks the 48-amp tier for faster charging, removes the receptacle as a failure point (they loosen and overheat under daily high-draw cycling), and it’s the correct choice for any outdoor mount, where a weatherproof connection matters more than portability.
Our rule of thumb on installs: renters and frequent movers lean plug-in, everyone else leans hardwired. Either way the circuit underneath is the same work, so the choice rarely changes the labor side of the price much.
While you’re choosing hardware, the features worth paying for are the boring ones: an adjustable amperage setting, a sensible app for charge scheduling, and a solid connector holster. Charge scheduling matters more than it sounds; if your utility rate plan rewards off-peak use, a charger that starts itself at the cheap hours pays for its own smarts. Skip the exotic features; the unit’s job is to be invisible for ten years.
Tesla, J1772, or NACS: will the charger fit your car?
Any Level 2 charger can serve any EV sold in the US; the only question is which plug is native and which needs an adapter. For years there were two standards: J1772, used by nearly every non-Tesla EV, and Tesla’s own connector. Tesla’s design was then published as NACS, and most major automakers have committed to building NACS ports into new models.
What that means for your garage: buy the charger with the connector your current car uses natively, and keep an adapter in the glovebox for the transition years. J1772-to-NACS and NACS-to-J1772 adapters are inexpensive and reliable for home charging. The wiring, breaker, permit, and inspection are identical either way; the connector is a detail on the end of the cable, not a different installation.
One buying note: a household planning two EVs from different brands is often best served by a NACS unit plus one adapter, since that’s the direction the market is moving. We’re happy to talk through the specific cars before you order hardware.
Can I just use a regular outlet in the garage?
You can, and for light driving it genuinely works, but the outlet has to be up to the job. The cordset that ships with most EVs plugs into a standard 120-volt receptacle and draws 12 amps for hours on end. That’s a continuous load an aging garage outlet was never asked to carry: worn contacts, backstabbed connections, and circuits shared with freezers or door openers all turn a slow charge into a warm receptacle.
If Level 1 fits your mileage, the right move is a short one: a dedicated 20-amp circuit with a single commercial-grade receptacle near the parking spot. It’s a modest job, it removes the sharing problem entirely, and it gives the cordset the clean, tight connection continuous charging demands.
What we ask homeowners to avoid: charging through extension cords, multi-outlet strips, or any receptacle that feels loose or warm. Those are the setups behind most of the scorched-outlet photos in EV forums, and every one of them is preventable.
The car is patient. The question is whether the outlet behind it was ever meant to work a twelve-hour shift.
Does your electrical panel have the headroom?
Capacity is the first question we settle on every quote, because it decides everything downstream. An EV charger is one of the largest single loads a house can take on, and whether your panel can absorb it is a matter of arithmetic, not a glance at empty breaker slots. The method is an NEC load calculation: your service size, your existing major loads, and the charger’s continuous draw, added up honestly.
Plenty of Wasatch Front homes pass that math comfortably, including many older 100-amp houses with gas heat and gas appliances. Others come up short and have three paths forward: a smaller charger, a load-management device that pauses charging when the house is busy, or a service upgrade. Our load calculation explainer walks the math step by step, and the short version lives in can my panel handle an EV charger.
Load management deserves a plainer introduction than it usually gets, because it rescues so many borderline houses. The device watches your whole-home draw in real time and simply pauses or slows the car whenever the rest of the house gets busy, then resumes when the oven and dryer stand down. The car still wakes up full; the panel never sees the stacked peak. For a few hundred dollars of hardware, it often replaces a four-figure service upgrade.
If the answer turns out to be an upgrade, that’s a project with its own decisions and its own payoffs, covered in our complete panel upgrade guide. Bundling the panel work and the charger circuit into one permit and one visit is meaningfully cheaper than doing them a year apart.
How is the breaker sized for an EV charger?
EV charging is a continuous load under the electrical code, so the circuit must be rated at 125 percent of the charger’s output. A charger that delivers 40 amps to the car needs a 50-amp breaker and wiring to match; a 48-amp unit needs a 60-amp circuit. This is why “just put it on the biggest breaker” is backwards: the charger’s amperage setting drives the circuit, and the panel’s spare capacity caps the charger.
| Charger output | Breaker required | Range added per hour | Connection |
|---|---|---|---|
| 16A | 20A | Roughly 11–14 miles | Plug-in or hardwired |
| 24A | 30A | Roughly 16–21 miles | Plug-in or hardwired |
| 32A | 40A | Roughly 22–28 miles | Plug-in or hardwired |
| 40A | 50A | Roughly 28–35 miles | Plug-in or hardwired |
| 48A | 60A | Roughly 34–42 miles | Hardwired only |
Two useful truths hide in that table. First, most drivers barely notice the difference between 32 and 48 amps, because either one finishes overnight with hours to spare. Second, many quality wall units are adjustable: we can commission a 48-amp-capable charger at 32 amps today to fit a tighter panel, then raise it after a future service upgrade without buying new hardware.
One sizing decision worth making deliberately: if there’s any chance you’ll want more amperage later, run the heavier wire now even if the breaker starts smaller. Wire is cheap while the wall is open and expensive forever after; a circuit wired for 60 amps but breakered at 40 upgrades later with a fifteen-minute breaker swap and a charger setting.
Where should the charger go: garage wall or outside?
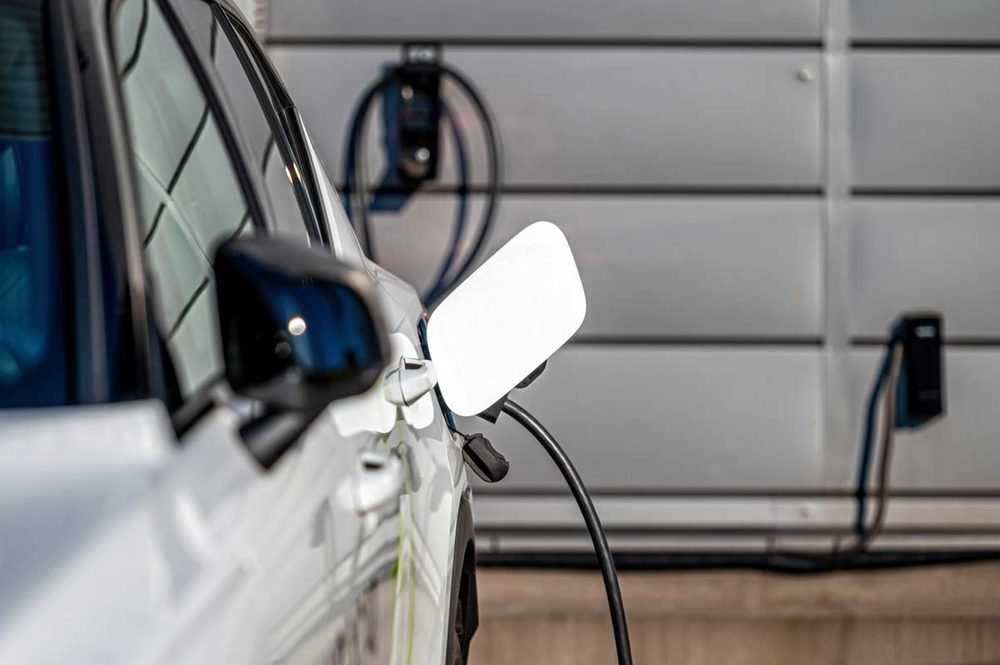
Mount the unit where the car actually parks, on the side where the charge port sits, and as close to the panel as those two constraints allow. Distance from the panel is the single biggest labor variable in the quote: a charger on the wall beside the panel is a short, clean run, while a charger across the house means fishing heavy-gauge wire through finished framing.
Inside the garage, think about the cord’s daily path. Most units ship with cords in the 18-to-25-foot class, which comfortably reaches a charge port on either end of a parked car; mount at roughly chest height, clear of door swings, mirrors, and anything the cord would drape across. A holster placement that lets you dock the connector one-handed is the difference between a charger you love and one you tolerate.
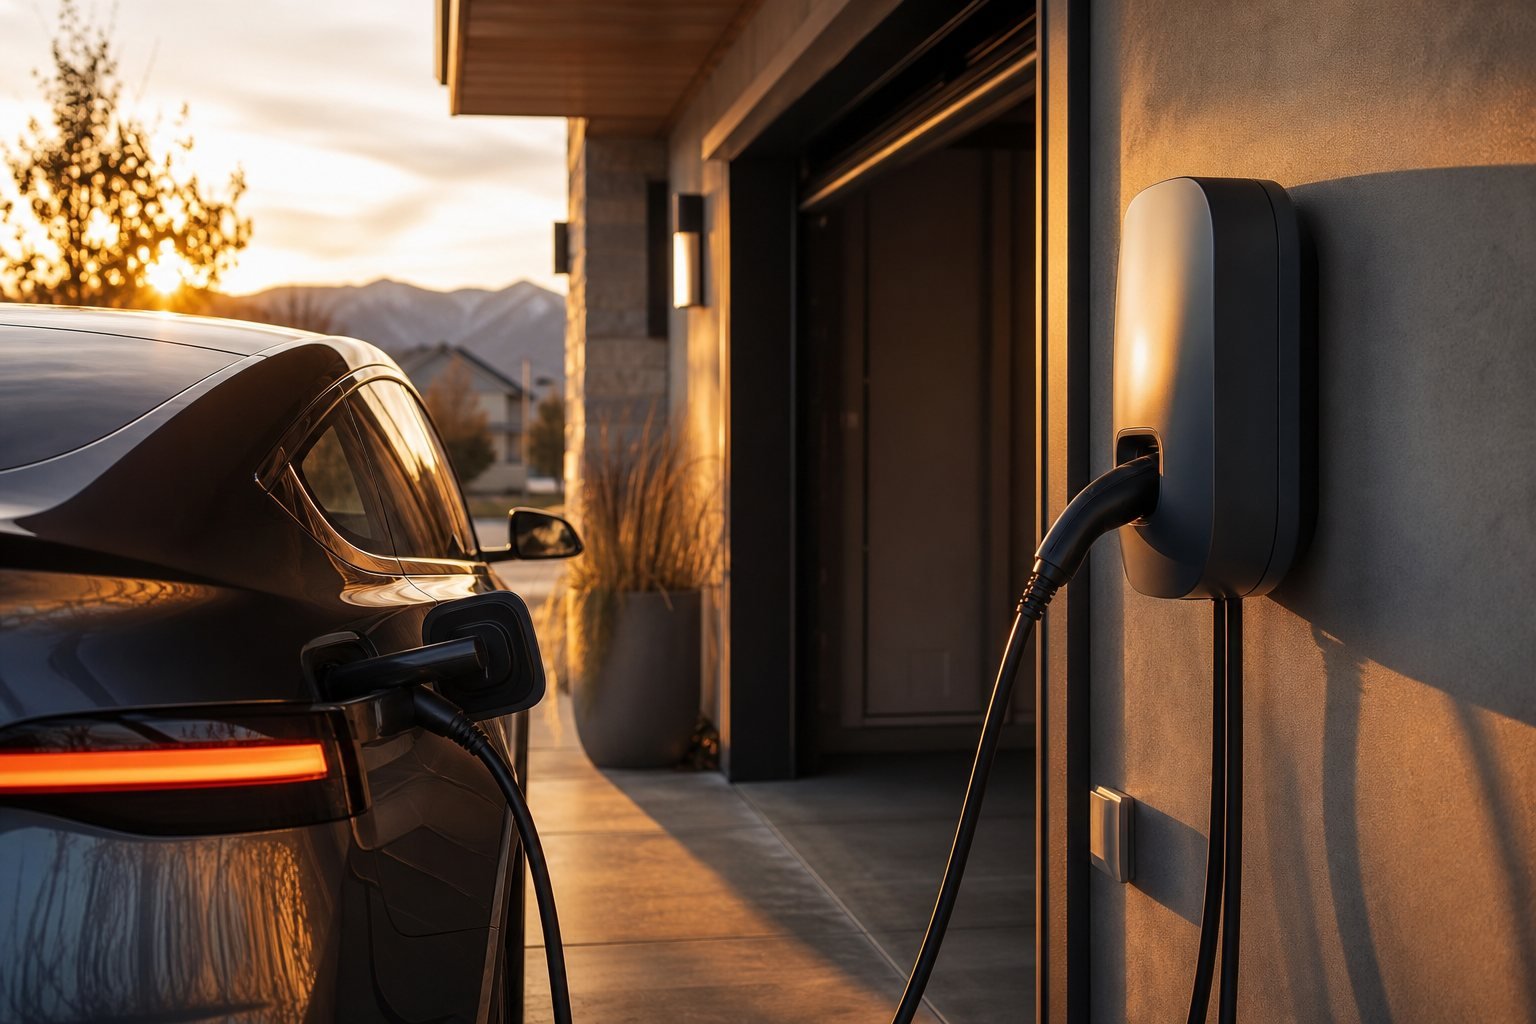
Outdoor installs are routine and code-legal with weather-rated equipment, and they’re the right answer for driveway parking. We hardwire outdoor units, keep the connections in rated enclosures, and think about snow: mounting height that clears a plowed berm, and a drip loop so meltwater never follows the cable into the housing.
Two-car households should place with the second EV in mind even if it’s years away. A mount centered between two bays serves either vehicle with the same cord, and running conduit with pull space for a second circuit costs little today. When the second car arrives, the options are a second unit or a pair of power-sharing chargers that split one circuit intelligently; either lands easier on a wall that was planned for it.
What does Utah winter do to EV charging?
Cold slows everything about an EV battery: it accepts charge more slowly, it holds less usable range, and the car spends energy warming the pack before it drives a single mile. On a January morning in Ogden, a Level 1 cord can spend a real share of its trickle just keeping the battery conditioned, which is why winter is when Level 1 households most often call us about an upgrade.
Level 2 changes the winter experience in two ways. The charge itself finishes fast enough that cold-soak losses barely matter. And preconditioning, warming the cabin and the battery while still plugged in, draws from the wall instead of the pack, so you leave the driveway with a warm car and a full battery. A garage mount amplifies both effects; even an unheated Utah garage keeps the pack far happier than a driveway at ten degrees.
One practical winter setting: most EVs let you schedule charging to finish near departure time rather than starting the moment you plug in. A battery that finishes charging at 6:45 is warm at 7:00, which improves both range and regenerative braking on the morning drive, and it costs nothing but a menu setting.
Winter along the benches also means canyon-wind outages, and a charger is only as reliable as the power behind it. Households that can’t tolerate a missed charge sometimes pair the EV circuit with standby power; our home generator guide for Utah covers when that makes sense and when it’s overkill.
How much does the installation cost?
Most Utah Level 2 installations land between $1,200 and $3,200 all-in, with the spread driven almost entirely by three things: how far the charger sits from the panel, whether the panel needs work to make room, and the unit you choose. A garage panel with spare capacity and a charger mounted beside it sits at the bottom of that range; a long wire run plus a GFCI breaker plus a premium adjustable unit climbs toward the top.
A load-management device typically adds several hundred dollars in hardware but can save thousands by making a service upgrade unnecessary. When an upgrade truly is required, budget the panel work separately: 100-to-200-amp upgrades commonly run $1,500–$3,000 in Utah.
When you compare bids, compare scope rather than totals. Utah electricians broadly bill $85–$150 an hour, so wide gaps between quotes usually mean different assumptions, not different efficiency: one bid includes the permit and GFCI breaker, another quietly doesn’t. Ask each bidder for the amperage, the wire route, and the permit line, and the real comparison appears fast.
The line-by-line version, including what belongs in a legitimate quote, is in how much EV charger installation costs in Utah. Every EV charger installation we quote is a fixed number in writing before any work starts.
Permits, inspection, and the install timeline
A new 240-volt circuit is permitted, inspected work in Utah cities, and that’s a feature, not friction: the permit record protects you at resale, and the inspection is an independent set of eyes on equipment that will cycle heavy load every night for a decade. The sequence, start to finish:
- A capacity check and quote: load calculation, placement walk-through, and a fixed price in writing.
- The permit is filed with your city’s building department; simple circuit permits are usually issued quickly.
- Install day: the breaker, the wire run, the receptacle or hardwire connection, and the unit mounted and commissioned. Most single-circuit installs are done in a half day.
- A test charge on your actual vehicle before we leave, with the charger’s amperage set to match the approved circuit.
- The city inspection closes the permit; scheduling varies by city, and we handle the appointment.
End to end, most projects run one to two weeks from signed quote to closed permit, with the on-site work a single visit. If a panel upgrade joins the project, Rocky Mountain Power’s disconnect scheduling adds lead time, which is one more reason our EV charger installation service scopes the whole job before anything is ordered.
Good to know: an unpermitted charger circuit can surface at home sale, when the buyer’s inspector asks for the permit record that doesn’t exist. Retro-permitting finished work costs more than permitting it the first time, every time.
Are there rebates or incentives for home chargers?
Sometimes, and the honest answer is that the landscape moves too fast for any blog post to be your source of truth. Utility programs, state offerings, and federal tax treatment for home charging equipment have all changed repeatedly in recent years, with programs opening, filling up, and closing on their own schedules.
What we tell customers before they buy hardware: check Rocky Mountain Power’s current residential EV offerings directly, look at the Utah state energy office’s pages for anything active, and ask your tax preparer whether charger equipment and installation qualify for any federal credit in the current tax year. Fifteen minutes of checking can be worth real money, and it protects you from planning around a program that quietly expired.
One thing that helps regardless: keep your itemized invoice and permit record. Nearly every incentive program that has existed asks for both, and they’re much easier to produce when the work was quoted and permitted properly. And never let an expiring rebate rush the sizing decision; a program that pays back a few hundred dollars doesn’t justify a charger tier your panel carries poorly, or hardware bought before the load calculation is done.
When a Level 2 install is the wrong move
Not every EV household should spend this money, and we’d rather say so here than in your garage. Skip or postpone the Level 2 install when:
- Your daily miles are short. Under about 30 miles a day, the included Level 1 cordset on a healthy dedicated outlet keeps up indefinitely.
- The car is a plug-in hybrid. Small batteries refill overnight at Level 1; the gas engine covers the rare exception.
- You’re moving within a year or two. A hardwired circuit stays with the house; the value rarely transfers dollar-for-dollar at sale.
- You rent. Improvements to a landlord’s panel are their capital project, not yours; a conversation beats a purchase.
- Workplace or nearby fast charging already covers you. Some drivers simply never arrive home low.
The pattern in all five: Level 2 pays off through daily use. If the daily need isn’t there, the cheapest good setup is a dedicated 120-volt circuit and patience, and we’ll quote that happily when it’s the right answer.
Quick answers
How long does a home EV charger installation take?
Plan on a half day on site for a straightforward dedicated circuit, plus permit and inspection scheduling around it. Long wire runs through finished walls or panel work extend that. You’ll have a realistic window in the quote before work is scheduled, and the car can usually charge the same evening.
Do I need a permit for an EV charger in Utah?
Yes. A new 240-volt branch circuit is permitted, inspected work in Utah cities. The permit is filed with your city’s building department, the finished circuit is inspected, and the closed permit becomes part of the home’s record. We handle the paperwork and the inspection appointment as part of the job.
Can I install a Level 2 charger myself?
The unit mounts easily; the circuit is the hard part. It involves panel work, continuous-load sizing, GFCI requirements for receptacles, and an inspection that homeowner wiring frequently fails. DIY electrical is legal for Utah homeowners in their own residence with a permit, but a 40-plus-amp circuit that runs loaded for hours nightly is a poor place to learn.
Will the charger I buy today work with my next car?
Almost certainly, at most with a different adapter. J1772 and NACS adapters convert either connector to the other for Level 2 charging, and the circuit behind the charger doesn’t care about the plug at all. Buy for the car you own, keep the adapter path in mind, and the installation itself will outlast several vehicles.
Is charging at home cheaper than public charging?
Substantially, in most cases. Residential electricity in Utah costs a fraction of typical public fast-charging session rates, and overnight home charging avoids the time cost entirely. For a daily commuter, home charging is where the EV’s operating-cost advantage actually lives.
Can the charger share a circuit with my dryer?
Not by simply plugging into the dryer receptacle with a splitter; a circuit serving an EVSE is generally required to be dedicated. There are code-listed load-sharing devices built for exactly this pairing, and they can be a legitimate fix in a tight panel. It’s an option we’ll evaluate honestly against a simple new circuit.
What if my panel is only 100 amps?
Run the math before assuming the worst. Many 100-amp Utah homes with gas heat pass a load calculation for a mid-size Level 2 charger, and load management covers many that don’t. Only some genuinely need a service upgrade first. Our panel capacity answer covers the quick self-checks.
Do two EVs need two chargers?
Not necessarily. Many households alternate nights on a single unit without friction, since most days end well above empty. When both cars genuinely need nightly charging, paired power-sharing units split one circuit intelligently, which is usually cheaper and easier on the panel than two independent circuits.
One visit settles the whole question: capacity, placement, amperage, and a fixed price in writing. No hardware to buy in advance, no pressure to oversize.
Copperview Electric is based in Ogden and installs chargers across Weber, Davis, Morgan, Box Elder, and Cache counties. If you’re local, our Ogden electrician page covers how we work in the city’s mix of pre-war Avenues wiring and newer bench construction.